Connecting to the Third Street Printer requires three steps & a bit of patience.
Note: these instructions are updated for the new printer. You will need to delete the old Ricoh printer from your computer and then setting up the new one. The printer address is the same 67.223.174.68
- Installing the printer software from RICOH
- Adding the printer to your computer (be sure to delete the old one)
- Adding the passcode to your documents so the printer will recognize them
1. Installing the Printer Software:
Go to the RICOH site and download the driver software appropriate to your operating system (Windows or Mac).users:
https://support.ricoh.com/bb/html/dr_ut_e/rc3/model/imc2000/imc2000.htm
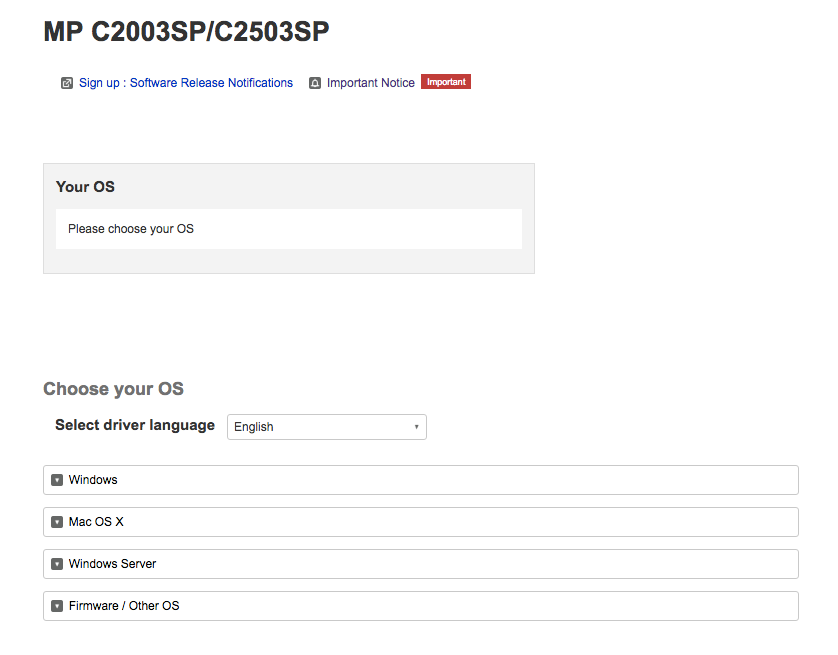
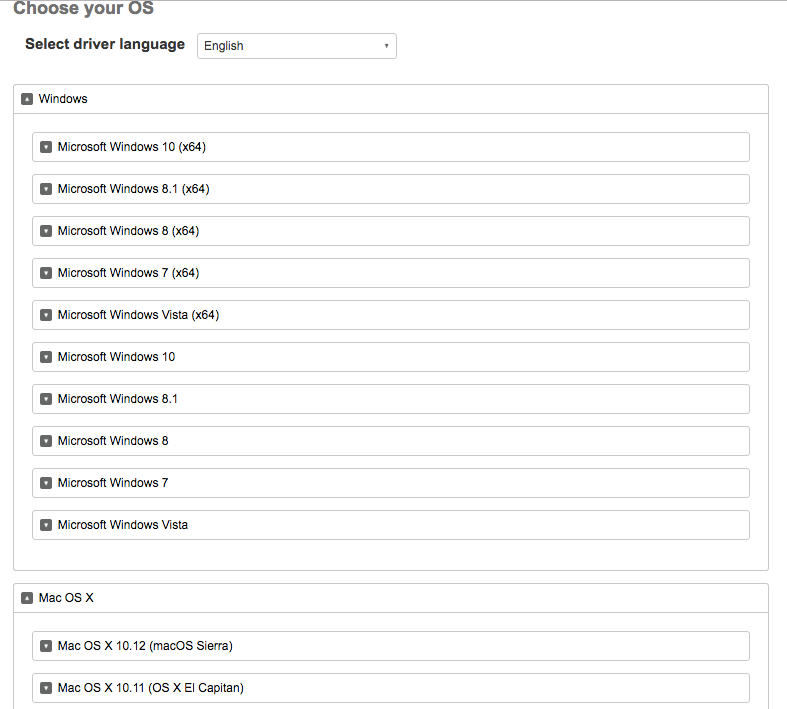
Select your operating software version, then download the file.
Go to your Downloads folder and double click on the Ricoh file to install the software.
Adding a new printer to your computer
WINDOWS computer
Open settings or control panel and select “add a device” or “add a printer”
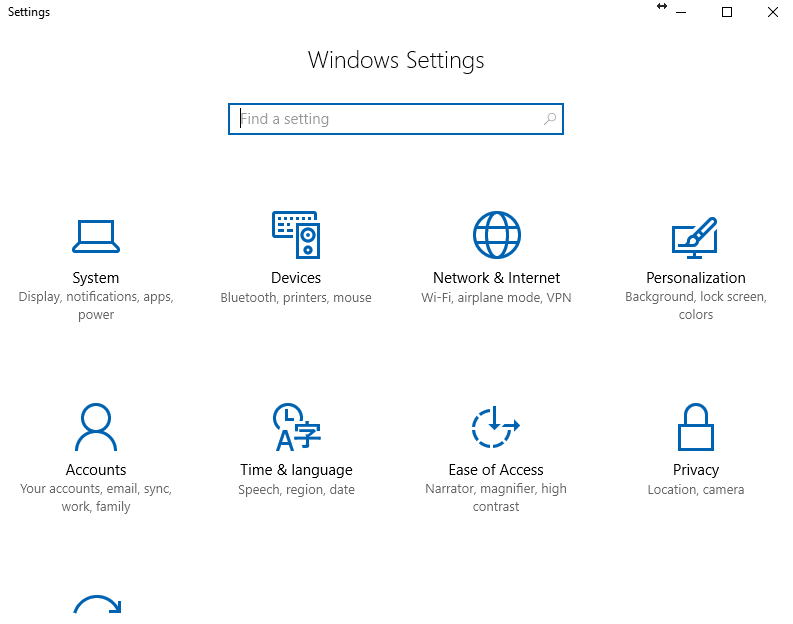
Select Add a Printer

Add a Printer using TCIP/ IP Address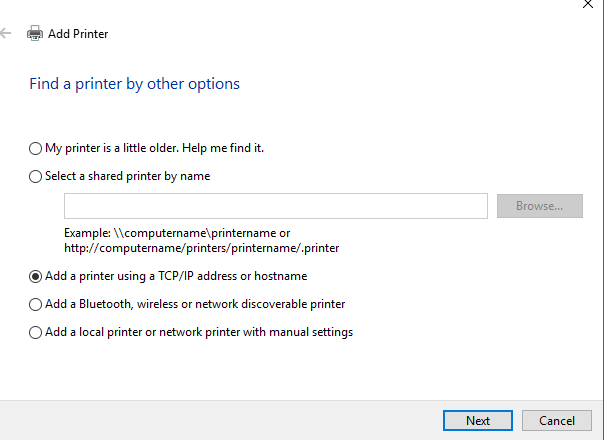
Add the TSC printer IP address 67.223.174.68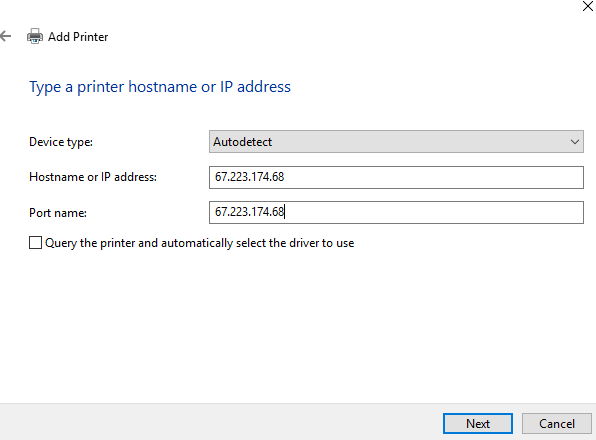
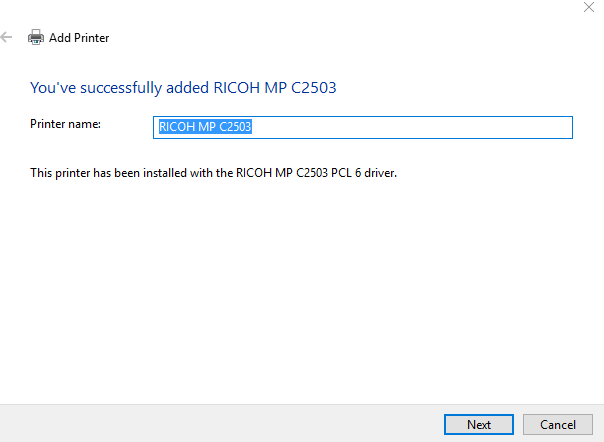
You should get a box like this if you are successful. Now onto actually printing a document using you passcode.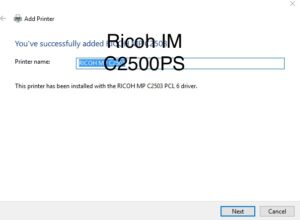
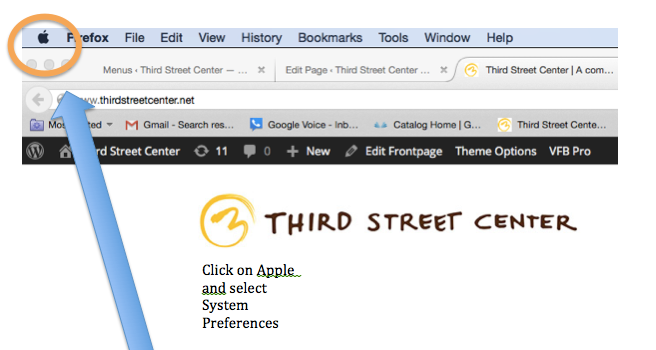
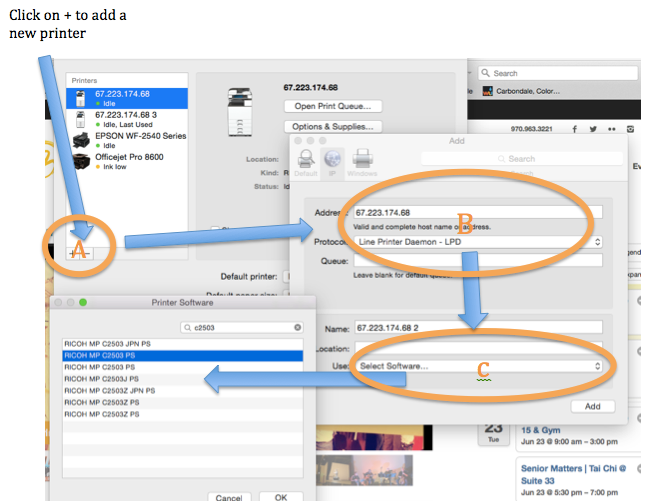
MAC Computer
Click on Apple on upper left of you screen and click on System Preferences. You will open the printer dialogue box.
(A) Add the new printer. Press the + to add the printer.
(B) Select IP and add the printer’s IP address (67.223.174.68), then select internet Printing Protocal – IPP for the Protocol option.
(C) add the new software you just installed. Click on Select Software. Select RICOH IM C2500 PS if your system doesn’t automatically detect it.
The Third Street Printer should be added to your list of printers.
Printing a Document
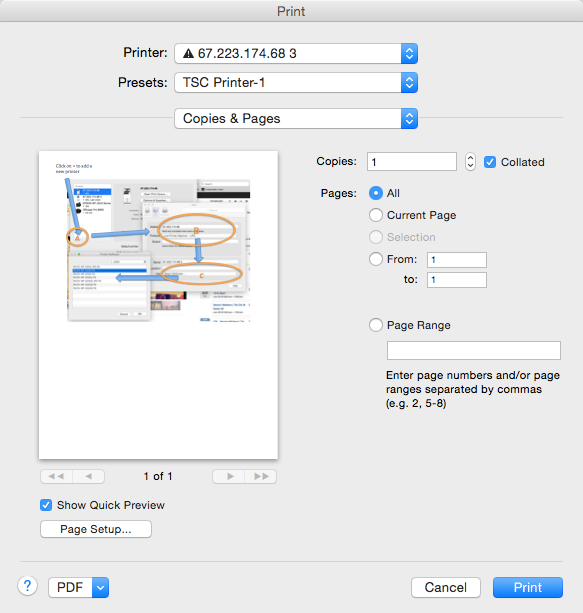
All Microsoft Word Users:
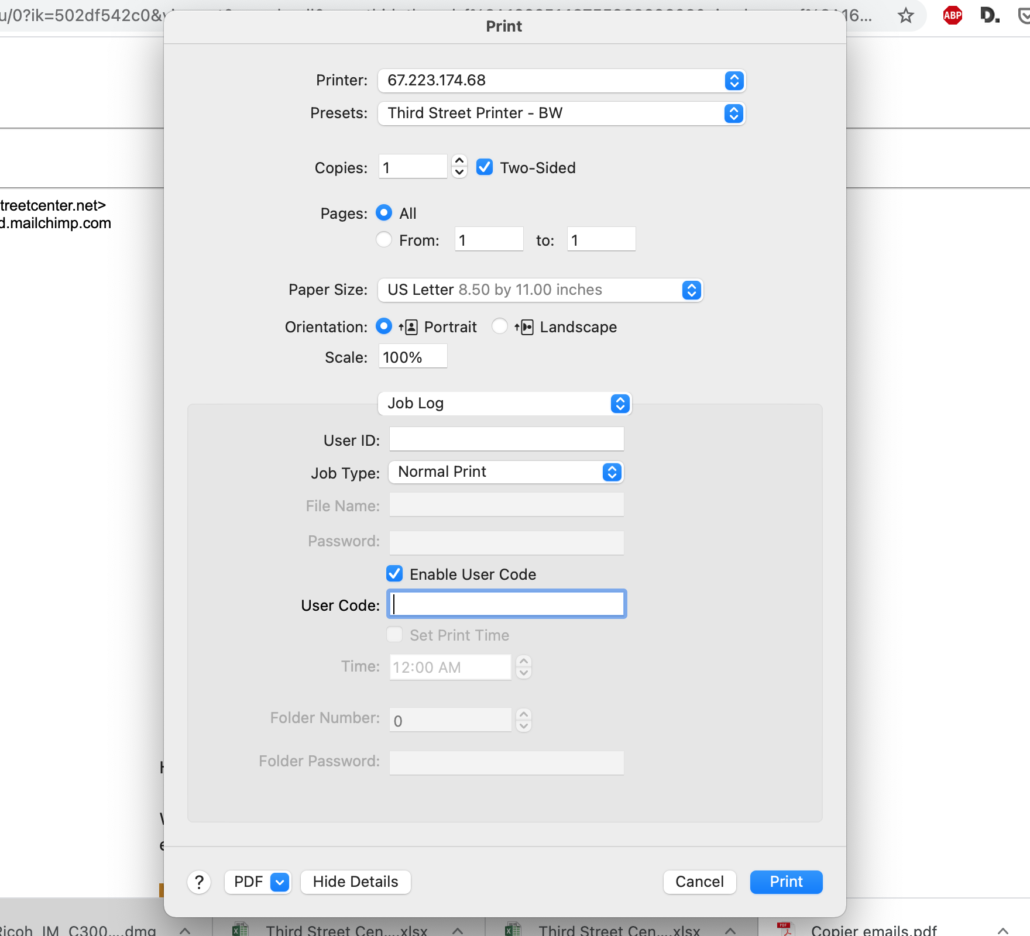
Step 1: In your Word document select File and then Print. You will see this print box. Be sure that the IP address of the Third Street Printer is selected at the printer.
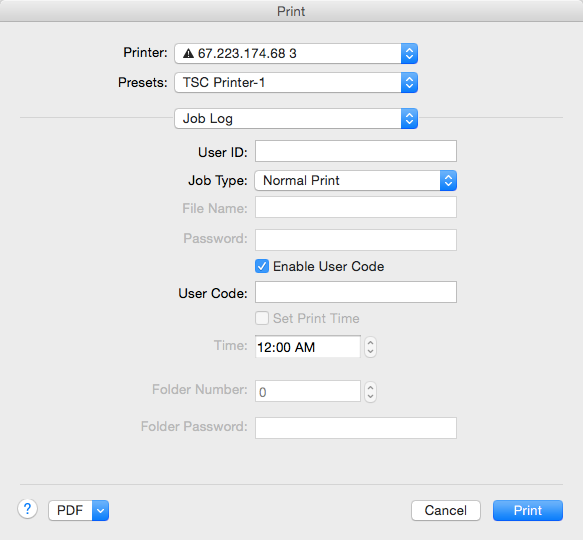
Step 2: Select Copies & Pages and scroll down to Job Log. Make sure the Enable User Code is checked, then add the user code (check with Colin or Mark if you don’t have one or can’t remember it.)
Step 3: Save your settings by selecting Presets and Save Current Settings . . . You can then call the settings something like “TSC printer” and you are good to go.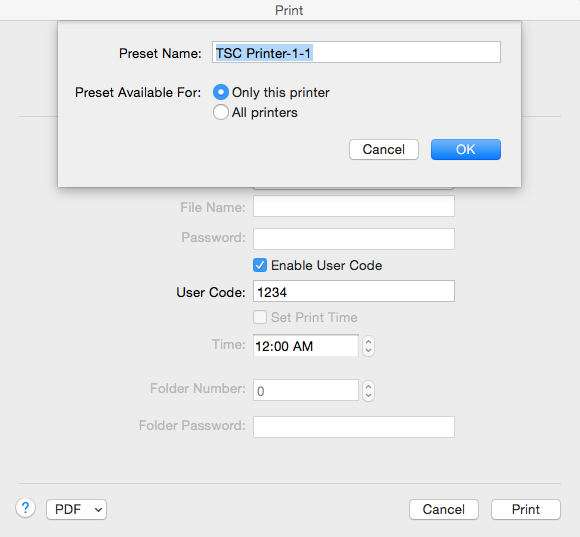

Non Microsoft Word Users (Google Doc, Gmail, etc)
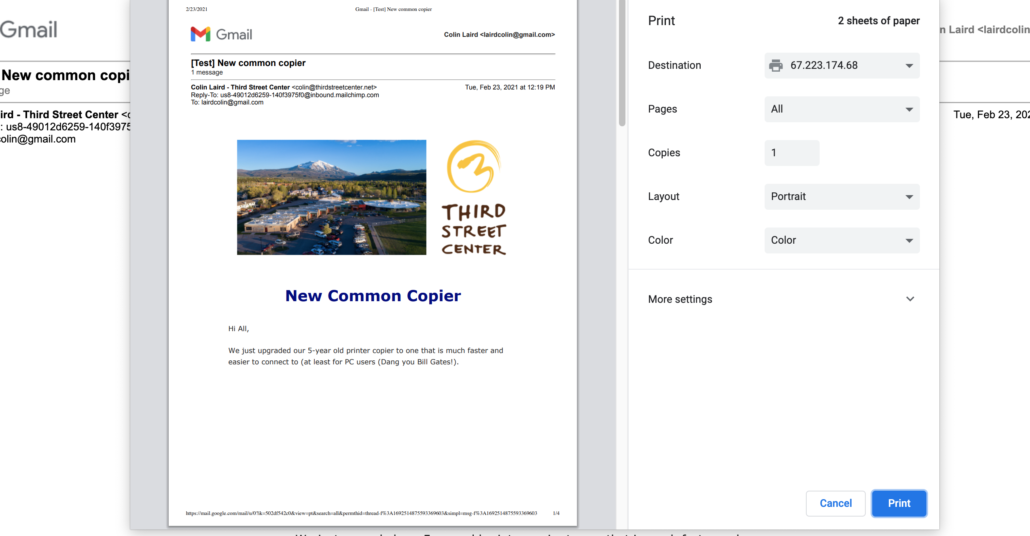
Step 1: Select the Print Icon in Gmail
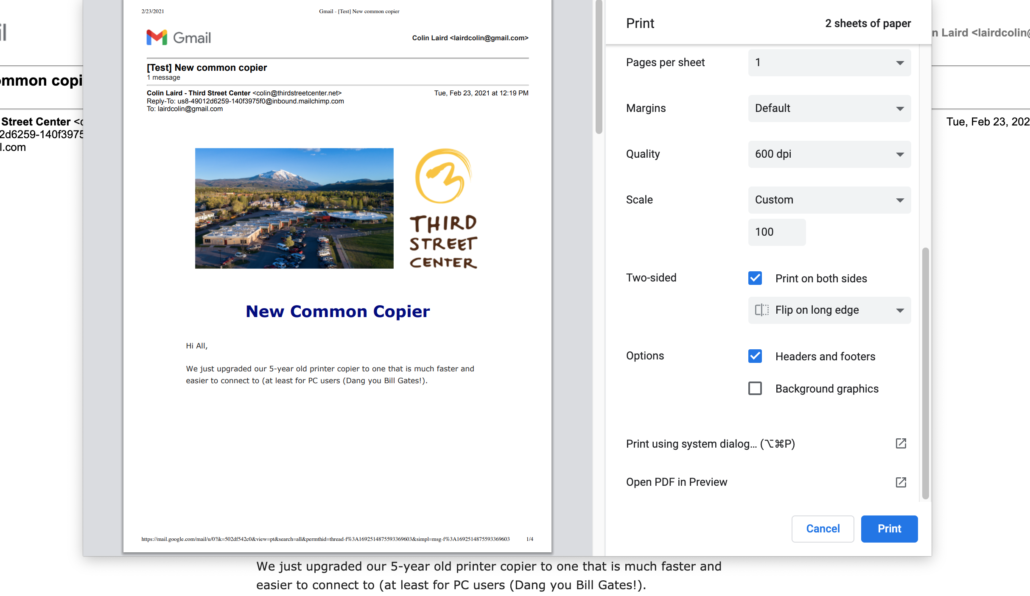
Step 2: DO NOT Select Print. Instead, select More Settings.
Step 3: Scroll down to Print using system dialog …
Step 4: Select Blue arrows to the right of Layout and select Job Log.
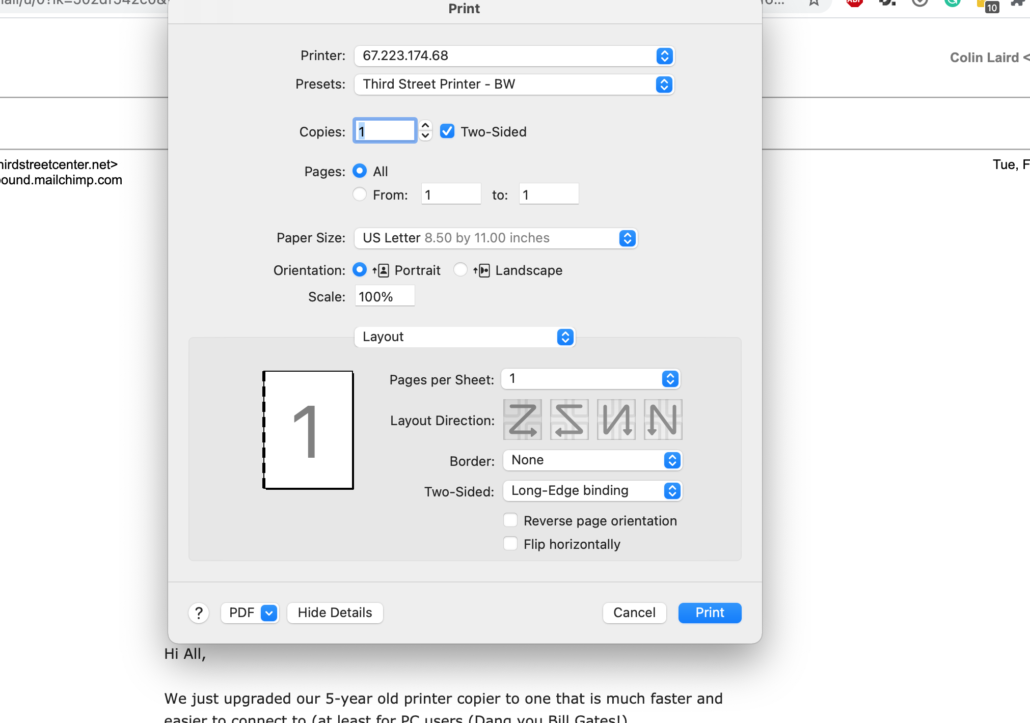
Step 5: Make sure the Enable User Code is checked, then add your user code (check with Colin or Mark if you don’t have one or can’t remember it.)
Step 6: Save your settings by selecting Presets and Save Current Settings . . . You can then call the settings something like “TSC printer” and you are good to go.
Note: It is useful to create a color and black and white preset since color prints and copies cost more that black and white does.
